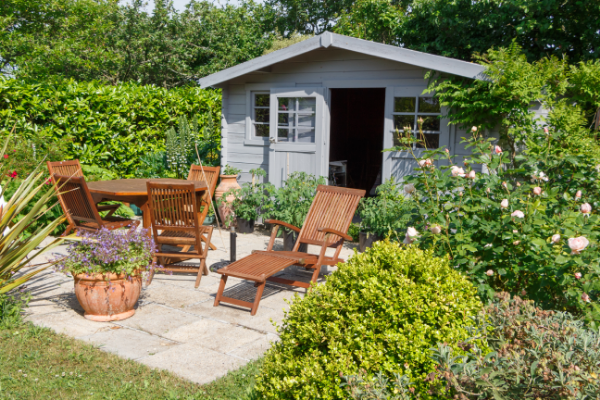
A garden shed should be more than just a place to store junk that you don’t want in your house. When properly organized, your shed can be the perfect place to keep all of your outdoor maintenance tools, various types of fertilizer, lawnmowers, and much more. The following tips will transform your shed from a useless mess into a well-organized storage option.

Step One: Remove Items You Don’t Need
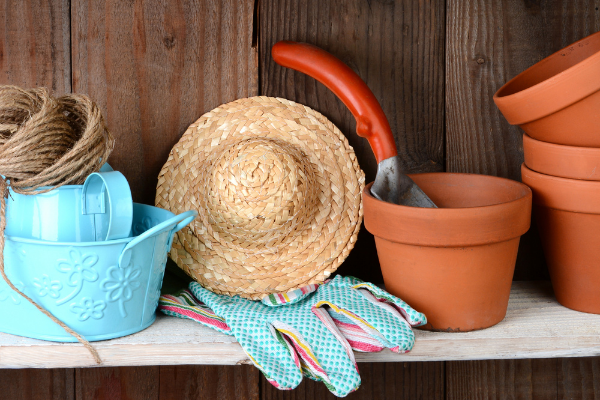
Is your shed currently a mess of useful gardening tools and junk that gets in your way? Then you need to go through your shed and toss out items that you don’t need anymore. Things to look for include:
- Broken tools or any item you don’t use
- Frayed hoses or any that you’ve tried to keep operational with tape
- Dried up paint that you’ve sealed in an already-opened can
- Outdated fertilizer and mulch
- Any junk that doesn’t need to be in there
Junk refers to anything you’ve stored in your shed that isn’t used for gardening. For example, a collection of old newspapers, magazines, old bowling trophies, ancient and rusty license plates, and other similar items must be removed.

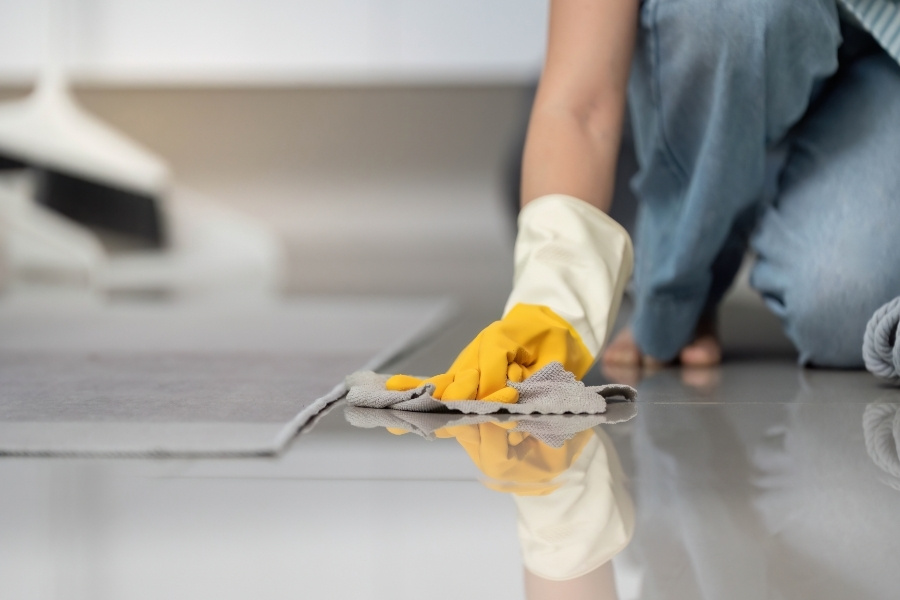
Step Two: Clean Out the Interior
After you’ve removed the junk from your shed, you need to clean it of any debris or other items that may clutter up the floor. Follow these steps, and this process should be pretty simple and shouldn’t take up too much of your time:
- Temporarily remove all the items you want stored in the shed
- Sweep the floor to get rid of dirt and debris
- Scrub down the walls with anti-mold cleaners
- Remove old bees nests or handle occupied ones with pesticides
- Pick up any potentially hazardous items, like nails or screws, from the floor
- Fix damage to the walls or floor to avoid pest invasions and worsened conditions
Once you’ve taken these simple steps, your shed should look pretty good and will be a lot less strewn with debris. However, you’re still going to have a collection of tools, mowers, vehicles, fertilizer, and much more to store.
Step Three: Add Storage Shelves
Once you’ve cleaned out your shed, it’s time to add new shelves, drawers, and other storage options. This step is the most critical part of this process and will take up most of your time.
You may need a handful of carpentry skills and tools to execute these steps, so make sure you feel comfortable with these before you begin. Just a few storage options that you can consider here include:
- Storage Racks — A hanging rack is an excellent option for your tools because it keeps them off the ground, protects them from rust caused by ground moisture, and keeps them readily at hand. You can buy manufactured store racks and install them on your wall or hang up a board with several nails stuck into its length. Drill holes in the wooden handles of your tools, and you can hang them by these nails.
- Work Table and Shelves — After adding your hanging racks, install a work table along one side of your shed. This table gives you a place to mix fertilizer, work on lawn equipment, or perform any other steps. Add small drawers and shelves on top, including containers for nuts, bolts, and other small items to keep them out of your way.
- Fertilizer Storage Bins — If you have fertilizer, mulch, bird feed, or any other similar item in your shed, you should store them in solid bins instead of bags. Leaving them in the bag makes it easier for pests to invade and could cause spillage or spoilage. Large Tupperware containers or metal bins are helpful for this storage option and can be shoved under your work table to keep them out of the way.
- Underground Storage Options — Some shed owners may install an underground storage drawer that helps to hold more hazardous items, such as fuel or coolants. These drawers can be lined with concrete to make them strong and have a locked top to make them impossible to open without the key. Such storage options open up more room in your shed for other items.
These storage options will help make your shed a cleaner and safer place for your gardening tools and equipment. It will also ensure that you always know where your tools are when you need them.
However, there is one more step that you can take to improve your storage even further: enhancing your out-of-shed storage choices. This final step isn’t essential for all homeowners but helps make your shed less cluttered.

Step Four: Consider Outdoor Storage Options
If you still have some items in your shed that you can’t find a place for (or want a more accessible site to access everyday gardening items), an outdoor storage option is a great choice. There are several simple items that you can use to meet this goal with ease, including:
- An old cupboard you don’t use anymore but which is still strong
- Bookshelves where you can add watering cans or other items
- Secure safes or gun cabinets with locks on their doors
- Multiple metal drawers purchased from a hardware store or similar destination
Outdoor storage is an excellent choice if you’re very active in your garden and have items you use every day, such as a watering can, various types of trimming tools, and much more. Always make sure that you lock these up at the end of the day to ensure that they are safe and protected from thieves.
You Can Own a Beautiful Garden Shed
These steps should take you no more than a few days to perform, though some skilled carpenters may finish them in little more than an afternoon. Some may even require the help of a friend or a family member, such as a son or daughter who loves helping out whenever they’re asked. Whatever the situation, these steps should help make your garden shed a place you love to work.